Good morning, it’s まさきん.
A while back, I wrote about trying outsourced 3D printing before buying my own printer. Since then, I’ve brought a Bambu Lab A1 mini into the house, and I’ve gradually been getting the storage around my desk organized too.
Today, as part of this series, I wanted to put together a post about the projects I’ve been making with my kids. The whole thing actually started with a small, everyday moment — wanting to fix one of my kids’ craft tools.
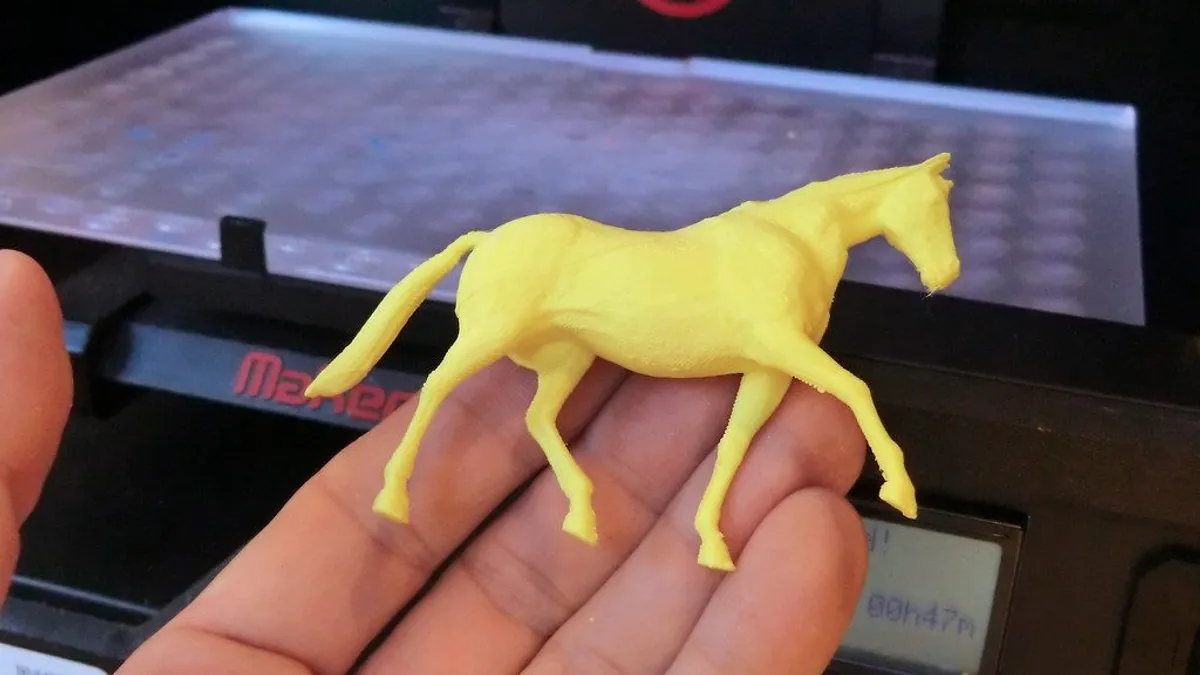
Honestly, when I first picked up this hobby, I figured I’d just enjoy making parts on my own. But once I actually got the printer running, my kids ended up showing more interest in it than I expected. These days, it’s become a regular part of our weekend craft time as a family.
We Split Design Tools by Who’s Designing
To make anything with a 3D printer, you first need design data. In our house, we use different tools depending on who’s doing the designing.
When the kids design something themselves, we use a tool called Tinkercad. It runs entirely in the browser and lets you combine shapes by dragging and dropping, which is its main appeal. Since there’s nothing to install, even an elementary schooler can design simple shapes on their own.
When I’m the one designing, I take a somewhat different approach. I use a tool called OpenSCAD, where you write code to define shapes, and I lean on AI coding assistance when I need it. I find this suits functional parts that need precise dimensions.
What I like about this method is that I can describe what’s in my head in plain words, exactly as I think it. If I explain something like “I want a hole here, at this size,” the AI puts together a base version of the code for me. From there, all that’s left is fine-tuning the dimensions, which feels a lot more approachable than learning everything from scratch.
That said, I’m not designing everything from zero every time. For most of the everyday things we want, downloading models from sites like MakerWorld or Printables, where people share their designs, does the job just fine.
Projects the Kids Loved
From here, let me share some of the things we’ve actually made that got a great reaction.
The easiest wins were name tags and keychains. I combined the kids’ initials or simple shapes together in Tinkercad to make these. We’ve also made name tags for water bottles and lunch boxes the same way.
Another hit was a ball-shaped case with a little opening-and-closing mechanism. I didn’t design this one from scratch — I just printed a model I downloaded straight from MakerWorld.
The biggest reaction by far came from an articulated dragon toy with moving joints. It’s a popular model on MakerWorld that prints without any support material and comes out already assembled. Since it’s ready to pose the moment it comes off the printer, the kids seemed genuinely amazed that “something that moves” had just appeared.
If you want to carve out more time for craft sessions like this, reviewing your fixed costs is one way to free some up.
Clicking this opens the Rakuten login page. Once you log in, you’ll see the campaign details.
Pairing It with Kanji Learning
Another thing that turned out well was pairing this hobby with kanji learning.
For my younger elementary-schooler, I made a puzzle where combining two pieces forms a single kanji character. A simple example: putting together 日 (sun) and 月 (moon) forms 明 (bright).
I designed this puzzle in OpenSCAD, again with some help from AI coding assistance. Turning the idea of how kanji characters are formed into something you can physically touch and handle seems to have genuinely helped with understanding.
It’s still at the prototype stage, but the same idea should work for other kanji combinations too. Turning something that’s hard to retain from just reading a textbook into a hands-on experience feels like one of the unique joys of this hobby.
Using It to Support Traditional Crafts
The 3D printer also comes in handy for old-school school craft assignments, like the classic styrene board projects.
Honestly, cutting and gluing large flat boards is something a 3D printer just isn’t good at. Printing something that size takes far too long.
Where it really shines, though, is making small, rounded parts — wheels, joints, connector pieces — especially when you need several copies of the same shape. Having the kids cut the big flat panels the traditional way while leaving the fiddly mechanical parts to the 3D printer feels like a division of labor that works well for our family.
Here’s a summary of what each approach is good and not so good at.
| Category | 3D Printer | Traditional Craft Materials |
|---|---|---|
| Round or curved shapes | Good at it | Difficult |
| Making many copies of the same shape | Good at it | Time-consuming |
| Three-dimensional, movable parts | Good at it | Difficult |
| Large flat surfaces | Weak (takes too long) | Good at it |
| Kids doing the whole process themselves | Weak (mostly downloading) | Good at it |
Looking at this table, it’s clear the 3D printer isn’t a cure-all. In particular, I think traditional crafting still wins on the educational value of a kid using their own hands to see something through to the end.
Figuring Out the Right Balance of What to Hand Off
Writing all this out, I’m reminded once again that a 3D printer is just one option among many for crafting. I don’t think it replaces traditional projects.
During the downloading or designing stage, I have the kids look at the screen with me. We can also watch together as the print progresses.
That said, I go back and forth every single time on the balance between how much the kids do themselves and how much of the hard part gets handed off to the printer. I don’t think there’s a single fixed right answer.
This kind of thinking ties back to something our family values in general — using technology to make family time a little richer. It’s the same idea behind posts I’ve written before, like auditing our family’s dormant phone lines or systemizing our fixed-cost review: my stance is that convenient tools are worth using thoughtfully, each for what they’re best at.
For our everyday mobile service, we’ve also consolidated everything with Rakuten Mobile, which keeps managing plans for the whole family simple. I feel like the room to try a new hobby like 3D printing only exists because we’ve already gotten our fixed costs organized this way.
Clicking this opens the Rakuten login page. Once you log in, you’ll see the campaign details.
This article contains affiliate advertising. If you sign up for a product or service through a link on this site, we may receive compensation from the partner company. The site operator is also an employee of Rakuten Group and may receive compensation through an employee referral program. The content and opinions here are based on the operator’s own experience and research regardless of any advertising relationship, but please read with the above in mind. See the Disclaimer & Affiliate Disclosure for details. Disclaimer & Affiliate Disclosure
This article includes machine-translated content. Please check the official Rakuten Mobile multilingual page for exact terms.
If you have concerns about Rakuten Mobile coverage or signal quality, you can consult through the official signal improvement request form .